Call me old-fashioned, but the first thing I wanted to learn to make as a new Jewish wife was challah.
I would try all kinds of recipes week after week, but none of them blew me away. The biggest problem I had was that they all called for 5 lbs of flour, yielding like a million challahs that you’re supposed to freeze. Aside from the fact that I like making fresh challah almost every week, ain’t nobody got space for all those extra challahs in the freezer!
When we first got married we lived in a tiny little NYC apartment, with a refrigerator the size of a shoebox and barely any freezer space. What little freezer space we did have was dedicated to meats and cheeses that we stocked up on quarterly grocery runs to Monsey, which were necessary if we wanted a good selection of kosher food and to avoid the Manhattan price premium.
Anyway, back to challah. I would try all these recipes, but I always attempted to cut them down to only make 3-4 challahs, enough for one Shabbat, maybe two at most. The problem is that a bag of flour is not easy to divide up to go along with a scaled-down recipe, so I would always make a lot of estimations. Let’s just say it did not work out. Over time, I developed my own challah recipe, using cups rather than pounds to measure the flour. While I was somewhat satisfied with that recipe, I would definitely not call it outstanding. It was good enough for the time, especially given all the trouble and experimenting that I went through to develop it, but I always felt like I could do better. So I continued developing the recipe. I even tried to turn it into a butternut squash challah once, that was so good!
 In Israel, as it turns out, there isn’t even such a thing as a 5lb bag of flour, though I honestly wish there was! All I’ve managed to find is 1-kg bags. I have to buy at least 5-6 of them just to fill up my flour canister. Also, I quickly noticed that all my baking ingredients here taste different than they did in the States, so the finished product turned out different as well. So, back I went to the drawing board!
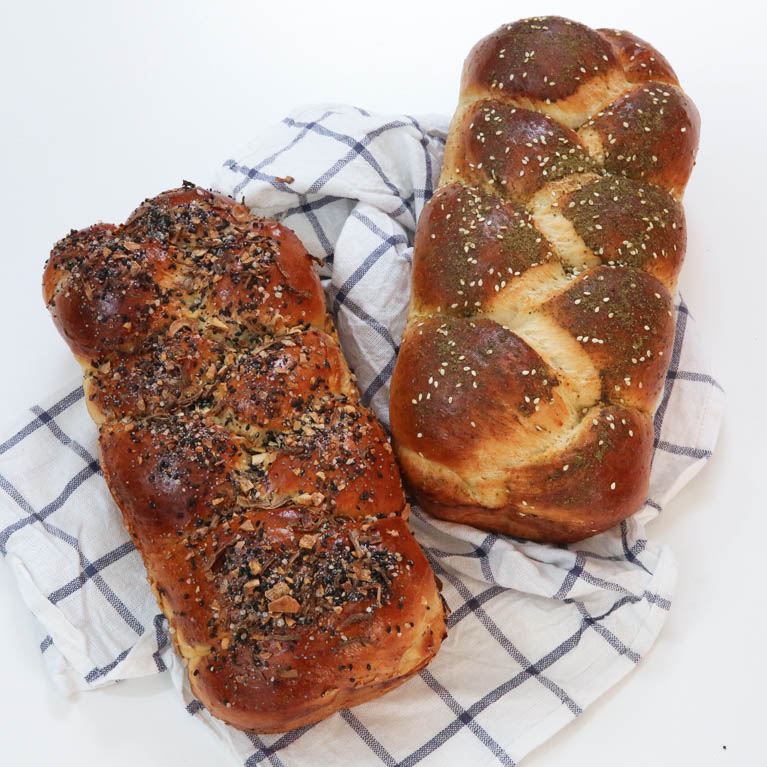
 After lots of experimenting, I finally landed on a challah recipe that’s here to stay! It is soft and doughy and oh-so-amazing to eat directly from the oven. But my favorite part was an entirely new component: coming up with unique and characteristic toppings that could match the challah itself.
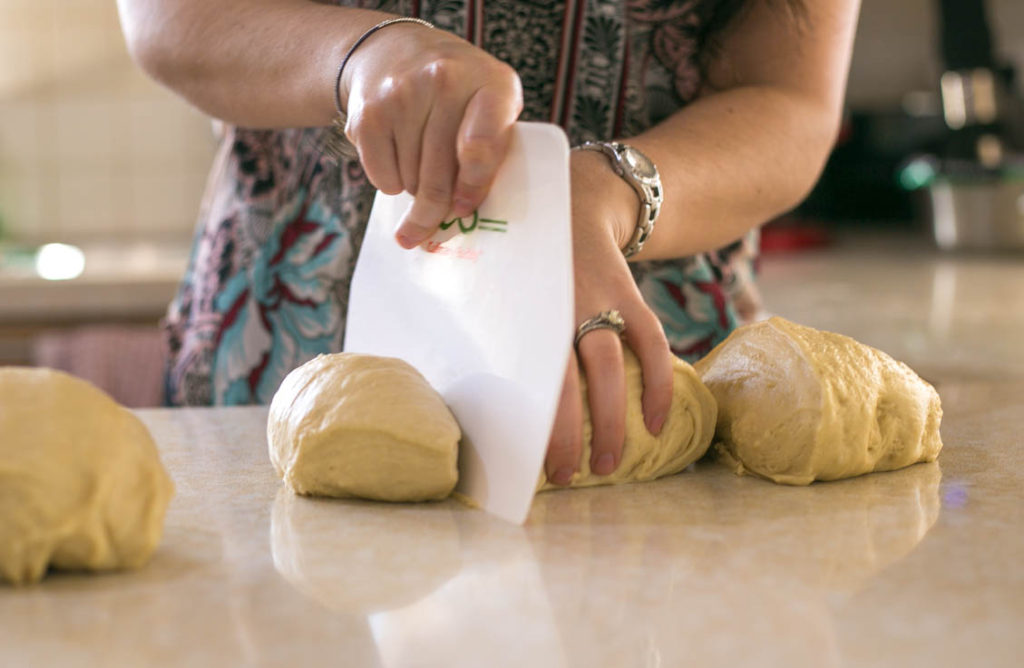
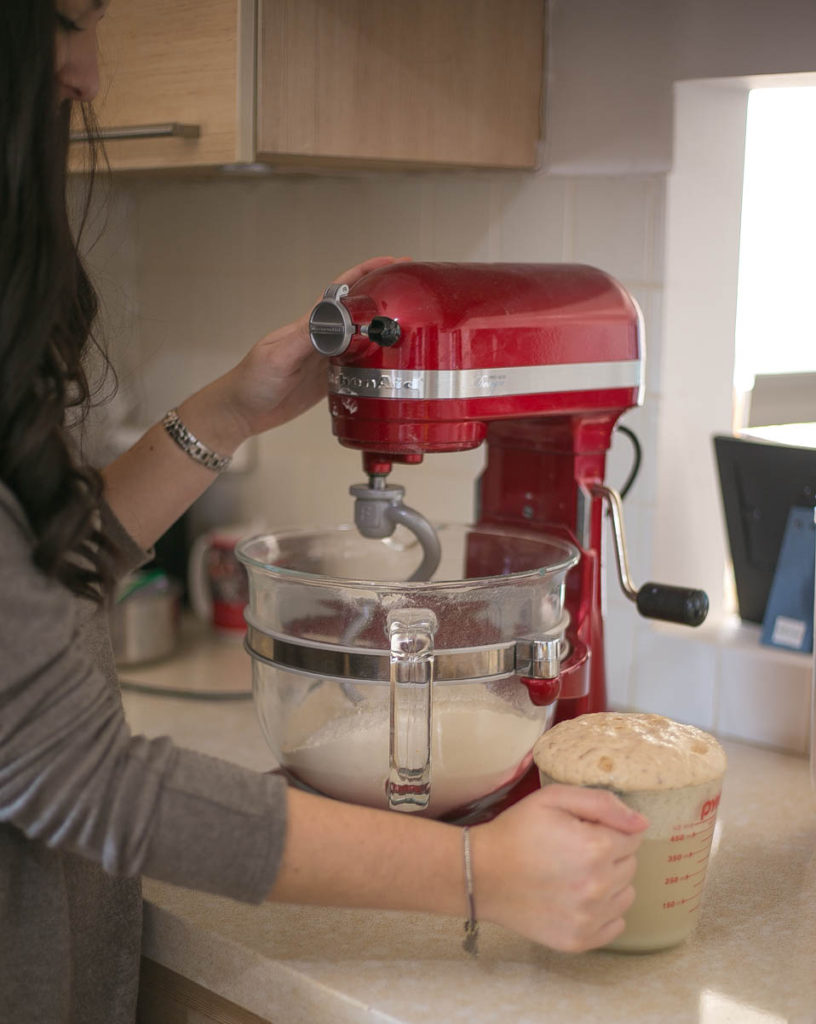
If you’re like me and just want a challah recipe that will yield a few loaves, this is definitely going to be your go-to challah from now on because you don’t need to use entire bags of flour. Even if you are a person who wants to make a ton of challahs at once, this recipe still works because it is broken down into cups, so you can easily double, triple, or quadruple it. Just be careful to check if your mixer can handle the amount of dough you’re trying to make – I’ve found that my KitchenAid can take up to 7-8 cups of flour.
![]()
Full disclosure: this challah recipe was developed using Israeli ingredients, and in my experience that can make a big difference. So if you’re in the US, definitely add it to your list of challahs to try and see if it works for you. Let me know how it turns out!
If you are doing Everything Spice, Blistered Tomatoes, or Sage and Garlic Confit, bake the challahs for 20 minutes with just the egg wash, remove from the oven, brush with egg wash again and sprinkle or slather your topping on top and bake for another 20-25 minutes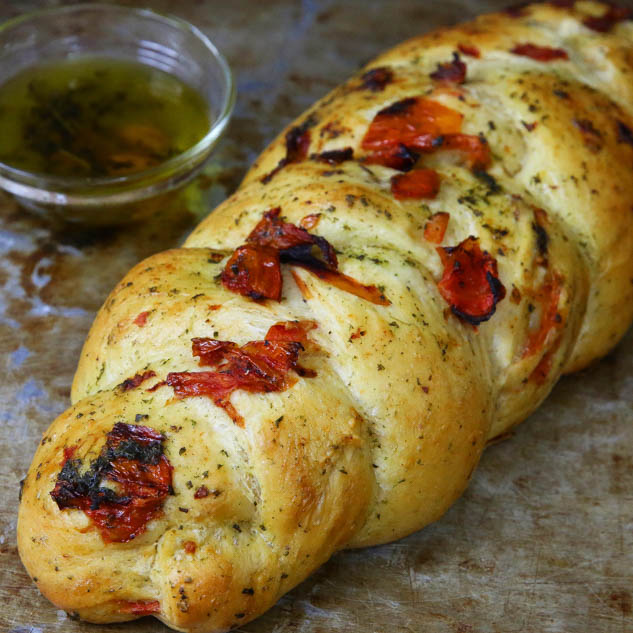

Prep Time
20 minutes
Cook Time
40 minutes
Passive Time
1.5-2 hours
Servings
Prep Time
20 minutes
Cook Time
40 minutes
Passive Time
1.5-2 hours
Servings
This challah is seriously the best!!! especially in Israel