Wow, what a whirlwind of a trip!
I dreamed about going Thailand since junior year of college. My friends and I were planning a vacation over winter break and Thailand was our clear choice. We research it, fell in love, and were all set to book the tickets 4 weeks before we wanted to go — only to learn that we need vaccinations 6 weeks before — so we were too late! We ended up booking a trip to Costa Rica instead, and Thailand feel to the back my mind. When we moved to Israel it jumped back to the forefront. It seems like everyone here has traveled there! After hearing all my friends’ stories about their amazing adventures, I knew where our next vacation would be. We even found really great tickets using credit card points, so clearly it was meant to be. We booked our flights and hotels and did some research in advance but the activities we left to decide there.
I blogged about my trip while I was still there, so I have daily stories written up already. I’m excited to share them with you under a new Kosher Travel section that I will be opening up on my blog! I don’t know if you knew this about me, but in addition to my passion for food and photography, I absolutely love traveling. For my 21st birthday my sister got me a globe with a set of stickers to place on destinations I’ve visited. My goal is to put a sticker on as many countries as I possibly can! So far I have New Zealand, Australia, Costa Rica, Bahamas, Jamaica, Belize, Puerto Rico, Italy, Vienna, Poland, Ukraine, London, Madrid, Zurich, Canada (all over), the United States (really all over, including Hawaii) and now, finally, Thailand! Next up is either Greece or Iceland, but I still have awhile to decide and some convincing of the hubby to do. I love seeing the world, especially the different cultures, landscapes and cuisines it has to offer. Because I have traveled a lot and often find myself in places with absolutely no kosher food — like New Zealand, for example — I’ve learned the ins and outs of kosher travel. I also try to eat on a budget while not just doing tuna and crackers the whole time — I cannot handle that — so this new section will be about how to travel kosher affordably but in style! I am really excited to kick this off with blog posts from this recent trip as well as tips and tricks you’ll want to know so that eating kosher doesn’t have to make your trip harder!
Now, since becoming a kosher food blogger, my love for traveling has transformed into a love of experimenting with different cuisines. I’m especially interested in Asian foods. When I found out that one of the most popular activities in the north of Thailand is actually to take a cooking class — it’s recommended by all the travel agents — I set out to find a way to do it with all my kosher standards. I couldn’t imagine taking a class and not getting to eat the things I made! I also wanted to learn stuff that I could take home and apply to my kitchen so I wanted to learn them my way the first time.
I must have emailed close to a hundred different cooking schools. I was not kidding — taking a cooking class in Chiang Mai is all the rage. Probably half of them didn’t even respond to me, and the other half asked for more clarification on what kosher meant. The ones who had heard of kosher before wanted to know how “strict” I was and what I would need done. My explanation for them at that point was quite long. I wrote out very clearly what I would need. The biggest issue I found was that I would needed brand new utensils, they could not prep anything for me in advance, and some ingredients, like sauces and condiments, would be hard to find kosher in Thailand. Most of the schools still in the running gave up at this point, saying it was just too complicated. That’s when the Basil Cookery came to the rescue. Tom, the manager, had never heard of kosher cooking before but was intrigued and ready to learn more. We sent many many emails back and forth and in the end he made me feel really confident that he understood my needs and was going to work to accommodate them! We booked a class with him and arranged to meet beforehand to buy all the tools we would need. He also sent me a list of all the ingredients I would need (other than fresh produce) so I could bring them from home or find out if they have kosher ones in Thailand. It turns out they actually do have a bunch of kosher ingredients available in Thailand, like coconut milk, all kinds of oils, rice noodles, and chicken breast at the local Chabad, so I was all set! We arrived in Thailand and awaited our journey up north to take this class.
We met with Tom the night before our class to go shopping as planned. He thoroughly impressed me, as happened many times during this trip, at how unbelievably accommodating Thai people are. He picked us up at the Chabad and drove for around 45 minutes away to what can only be explained as a Thai version of Costco. They sold everything in bulk and had endless aisles lined with pallets on shelves up to the ceiling — what else could you call such a place? We picked up all the equipment we would need, and he even offered to buy some things for us that he felt he would get good use of after our class. He dropped us off at our hotel afterwards for no additional charge, and he didn’t charge us any higher for the class itself despite all the hoops we asked them to jump through! We could not wait for our class the next day.
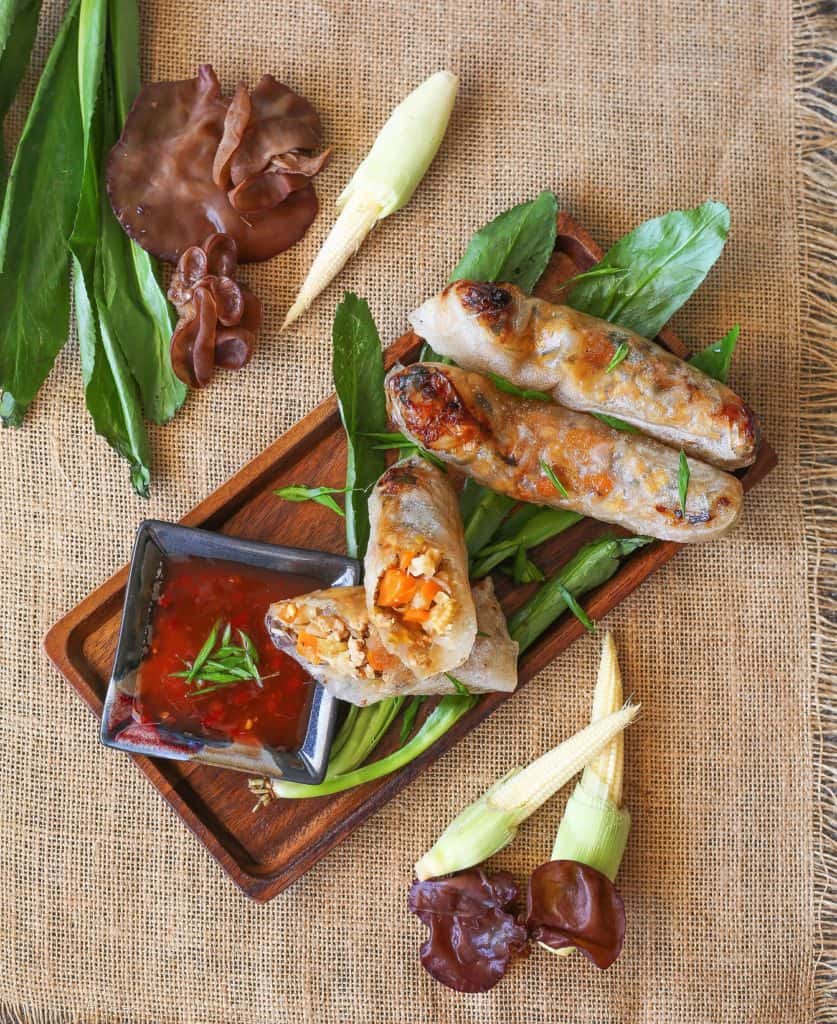
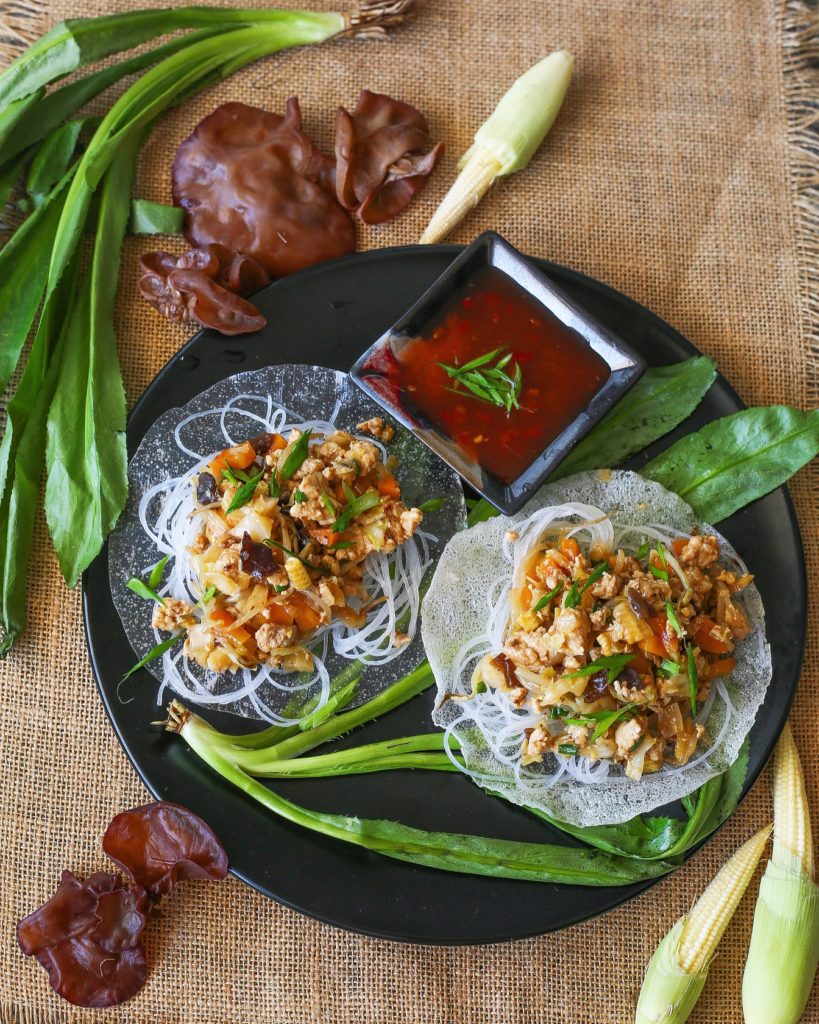
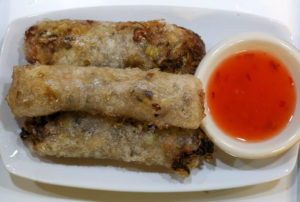
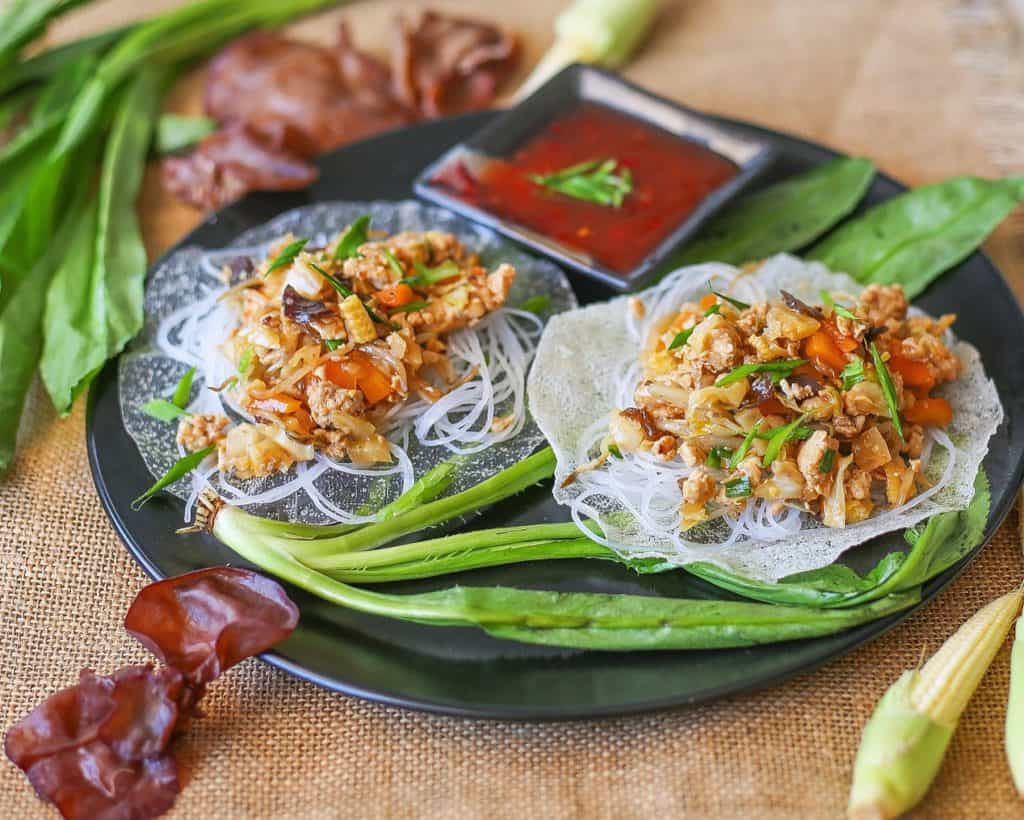
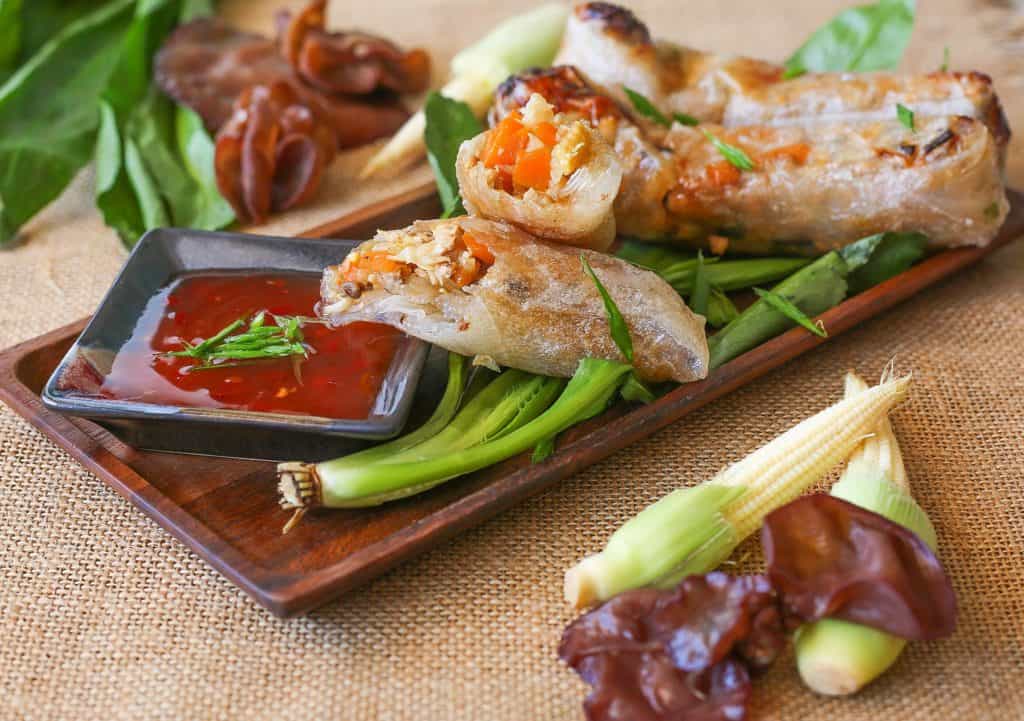 And with that, I’ll leave the rest of the story for the next Thai post later this week, this one is getting too long already! For my first adventure back in my Israeli kitchen I wanted to make our favorite dish from the class, Thai spring rolls. While these are so delicious and way better than a classic egg roll from a Chinese takeout place, they’re unfortunately not the healthiest of foods. Although, they do have everything you need for a balanced dinner: carbs, protein, and vegetables. I decided to make them two ways to try and offer a sliiiightly healthier version. The first way is how we were taught in the class (and the new rolling technique is amazing) but a bit unhealthy since the entire thing gets deep fried. The second one involved frying only the wrapper but leaving the filling untouched, thus making it overall a tiny bit less oily and fatty. Try it whichever way you prefer, you just need to be little adventurous with it because fish sauce is such an interesting ingredient to use for the first time — but you’ll grow to love it!

| Prep Time | 15 minutes |
| Cook Time | 20 minutes |
| Servings |
Rolls
|
- 150 grams glass noodles aka mung bean noodles
- 1 tbsp oil
- 4 cloves garlic minced
- 3 small shallots diced
- 1/2 kilo chicken breast diced
- 2 large carrots diced
- 8 wood ear mushrooms diced
- 8 fresh baby corn diced
- 1/2 small cabbage chopped
- 2 cups bean sprouts
- 2 tbsp parve fish sauce
- 1/4 cup mushroom sauce not to be confused with mushroom soup mix
- 1 tbsp sriracha
- 1 tbsp brown sugar
- oil for frying
- 8.5 in square rice wrapper for rolled spring rolls
- 6 in round rice wrappers for unwrapped spring rolls
Ingredients
FILLING
WRAPPED
UNWRAPPED
|
|
- Place the glass noodles into a large bowl and cover with warm water. Make sure all the noodles are under water and stir to separate.
- In a large wok heat up the oil over a medium high flame. Add in the garlic and sauté for 1 minute, just until fragrant. Add in the shallots and stir for another minute. Add the chicken and carrot and cook until the chicken is cooked through. Add in the mushrooms, corn, cabbage and bean sprouts and mix well. Ass in the fish sauce, mushroom sauce, sriracha and sugar and stir well. Add in the garlic chives, mix in and remove from heat. Allow to cool.
- Place a square rice wrapper as a diamond on a flat surface and using your hand, rub water all over it until coated, but not too much, you do not want it to get too wet.
- Take a small handful of glass noodles from the bowl and place in the corner closest to you, around 2-3 inches away from the corner, laying it horizontal and in a thin log. Scoop 2-3 tablespoon of filling on top of it.
- Lift the corner closest to you over the filling, away from you, going until the filling has been covered. Place the corner down and using your hands skootch back the filling so there's no extra air. Roll it twice and then do the same thing with the sides, skootching the filling inwards so that its packed tightly inside the roll. Fold the sides over and finish rolling up the roll.
- Heat up 2-3 inches of oil in your wok and add in the rolls once the oil is hot, making sure to not overcrowd the wok. Fry for around 1-2 minutes on each side, until slightly golden. Flip over and do the same.
- Remove to a plate covered with a paper towel to drain and serve hot with sweet chili sauce.
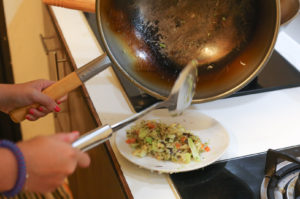
- Heat up a wok with 2-3 inches of oil. Once its hot, turn of the flame allow to cool for a minute. Add in the round rice wrapper and allow to harden for 1-2 minutes. Remove to a paper towel lined paper plate. If you add it in and it becomes white and shrivels up very quickly, the oil is too hot. Allow it to cool a bit more and try again.
- To serve: Top your crunchy rice bowl with glass noodles, and the chicken filling and serve with sweet chili sauce on the side.
- Try finding a parve fish sauce so that you can mix it with the chicken. If you cannot find one, then skip the chicken or replace with some soy/tofu crumble, but don't skip the fish sauce.
- Watch the video below to see how to roll the spring roll properly!