One of the first things I remember making from scratch when I first got married was a bread bowl.
I have had them plenty of times at restaurants and I have always thought they were so impressive. And of course, let’s not forget delicious. I am definitely challah-dipper on my Friday night soup. I don’t think there’s anything better than dipping freshly baked challah into a fresh chicken soup! So of course, a bread bowl is the next natural step for that obsession. I set out to make them for the first time and was sure it would be a flop. Either they wouldn’t rise, keep their shape or just not taste good, I just didn’t think I could get it right on the first try. 
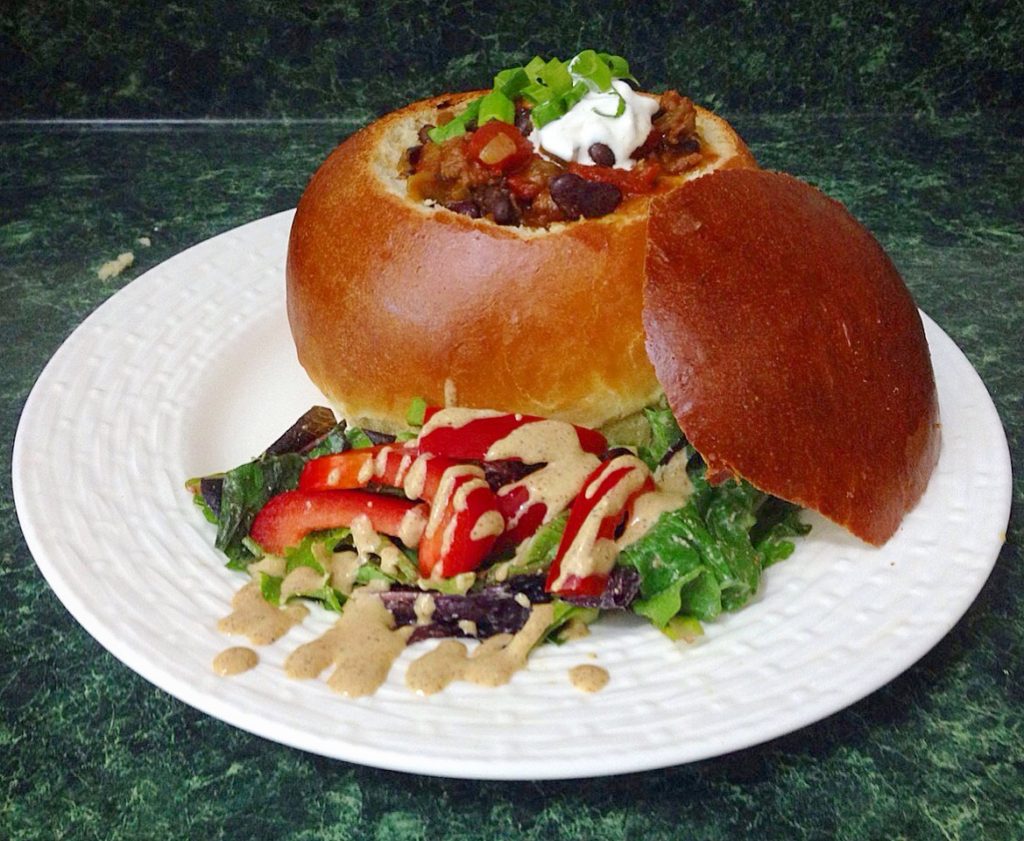
Lo and behold, I was wrong! They came out amazing the very first time and I have continued to make them ever since. They rise beautifully, are soft and pillowy and taste delicious. I have since filled them with so many different soups and even chili! Whenever I serve them on Friday night, people are shocked that they are homemade and not store bought, they are that perfect!

Instructions
Combine dry yeast and sugar in a measuring cup. Add in the warm water, give it a quick stir and set aside to proof for 10 minutes.
In the bowl of a stand mixer add in the milk, oil, salt and eggs. Start your mixer and then add in 3 1/2 cups of the flour. Mix well.
Once the yeast is proofed—it should be very foamy and have a distinct smell, if not, it's not alive and you should start the first step over again—add the yeast to the flour mixture and mix until all ingredients are well incorporated, adding another 1/2 cups of flour slowly (it usually takes my KitchenAid between 7-10 minutes to knead the dough).
Once the dough has formed into a ball around the hook and the dough is smooth and elastic to your touch, remove the dough, coat the bowl with cooking spray and place the dough back in the bowl and cover with a towel. Set aside to rise for 1-2 hours or until doubled in size, in a warm, draft-free spot like the inside of your oven when it's off.
Once it's risen, uncover your dough and punch the dough down. Divide the dough into 3 or 4 pieces—I think this recipe is perfect for 3 to 4 bowls and I usually double it to make 6 to 8.
Take each piece and pull down the sides towards the bottom to create a smooth top, creating a smooth ball. Place the rolls, seam side down, on a parchment lined baking sheet, leaving around 2-3 inches in between each roll. Let rise for another 30-45 minutes.
Preheat the oven to 425 F.
Whisk together the egg wash and brush the wash on the bowls.
Bake for 20-25 minutes until golden brown and cooked through.
Remove from the oven and allow to completely cool on a wire rack before cutting off top and scooping out the inside. If you want to serve them hot, carve the bowls out when they are cool and then warm up again because you won't be able to carve them hot.
Recipe Notes
I substitute for soy milk when cooking for a meat meal and have also used coconut milk, orange juice or more water, whatever you have at home.
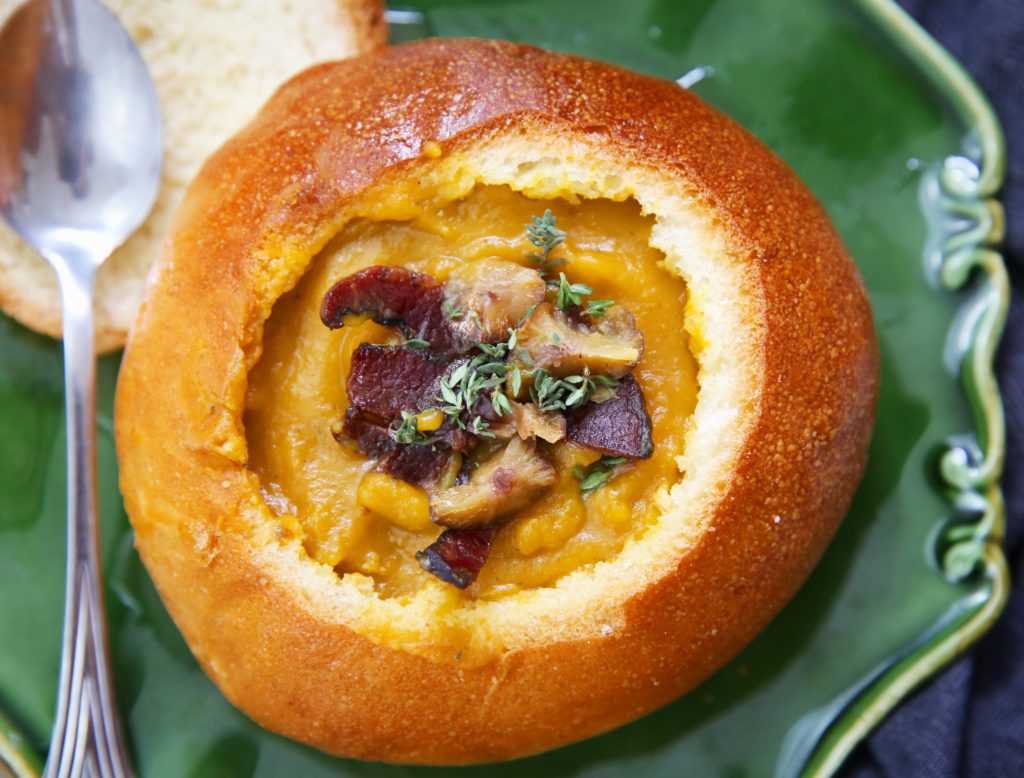
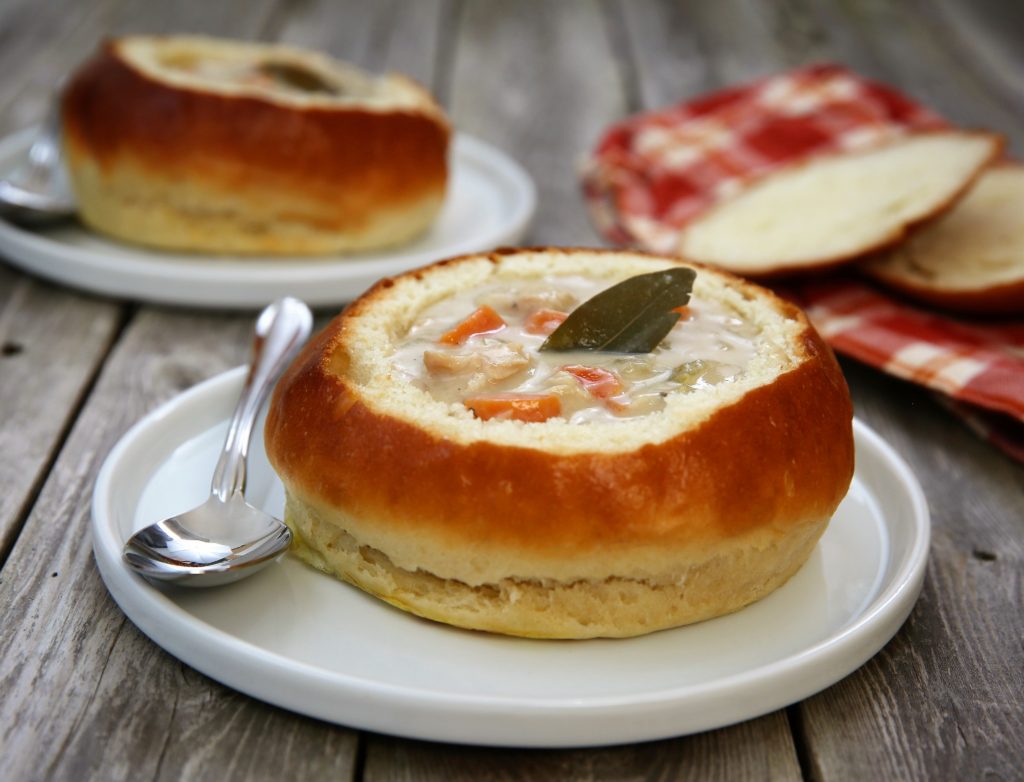
Fill these bowls up with delicious onion soup, butternut squash chestnut soup, creamy chicken soup, chili and so much more!


