I love figs!
Growing up in LA we had a whole backyard of fruit trees, and the fig tree was my favorite. Not only was the fruit the tastiest, but the tree itself was the coolest looking one out of all the trees we had. My siblings and I would always climb it, trying to reach the precious fruit. On my most recent trip to LA, I was so ecstatic to find figs, that I even flew 15+ hours back home with them so that I could have them in Israel with me. Just my luck though, when I arrived in Israel, I saw the supermarkets were flooded with them. They were finally in season here too! Oh well, more figs for me!
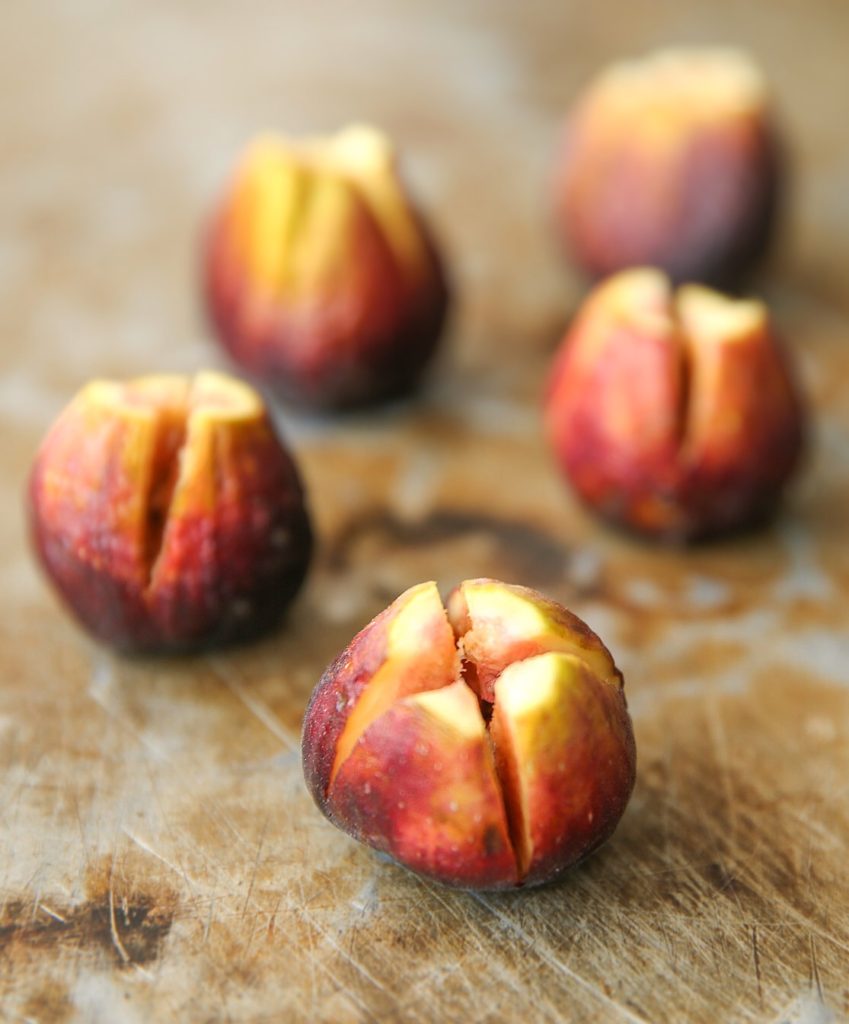
Early on in my foodie days I came across the concept of putting cheese in figs, and it did not sound appetizing to me. Why ruin a perfectly good fruit?! When the next fig season came around (yes, even in New York, there are some fruits that fall prey to seasonality) my food palette had matured and I was ready to try the cheese and figs thing. I piped ricotta into my figs and drizzled with some honey and it was delicious! I was sold on the whole cheese and fruit thing.
Ever since that turning point, I have experimented all kinds of cheese on all kinds of fruit, like feta with watermelon and goat cheese with apricots. I then also tried broiling/grilling the fruit with the cheese and it realized that was a million times better. The cheese got all hot and melty with delicious browned spots, and the sweetness of the fruit became so much more prominent as the fruit became soft and mushy.
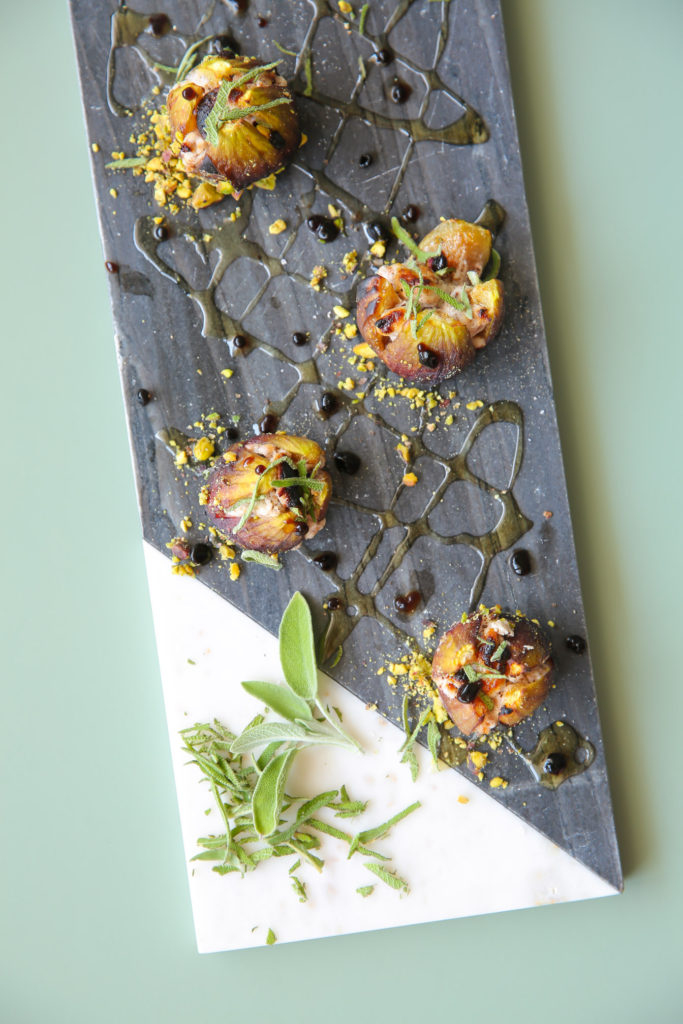
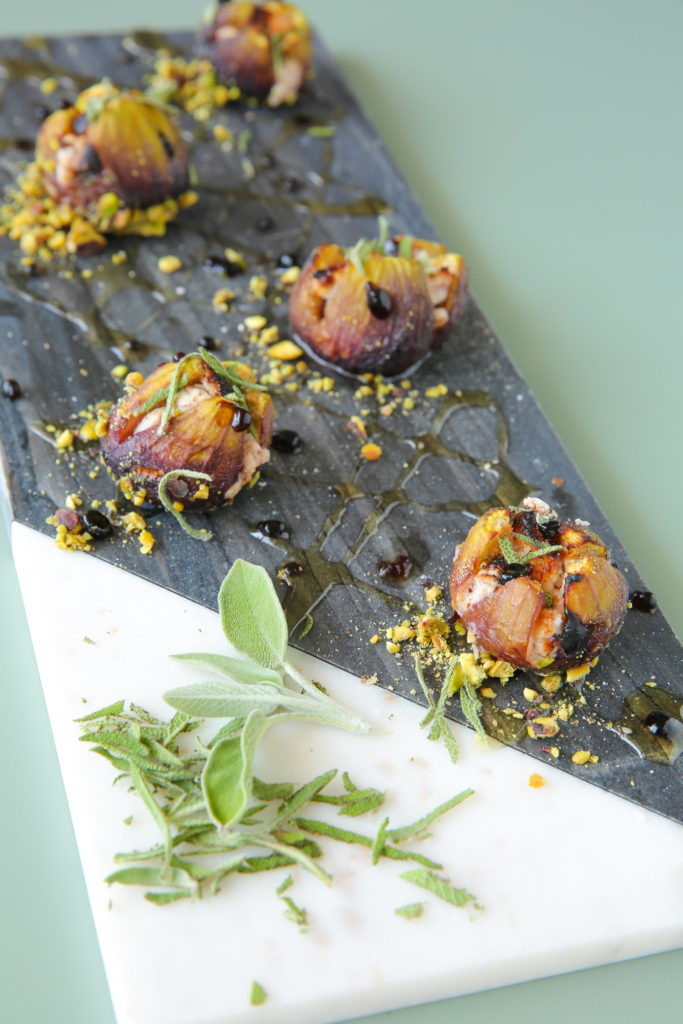
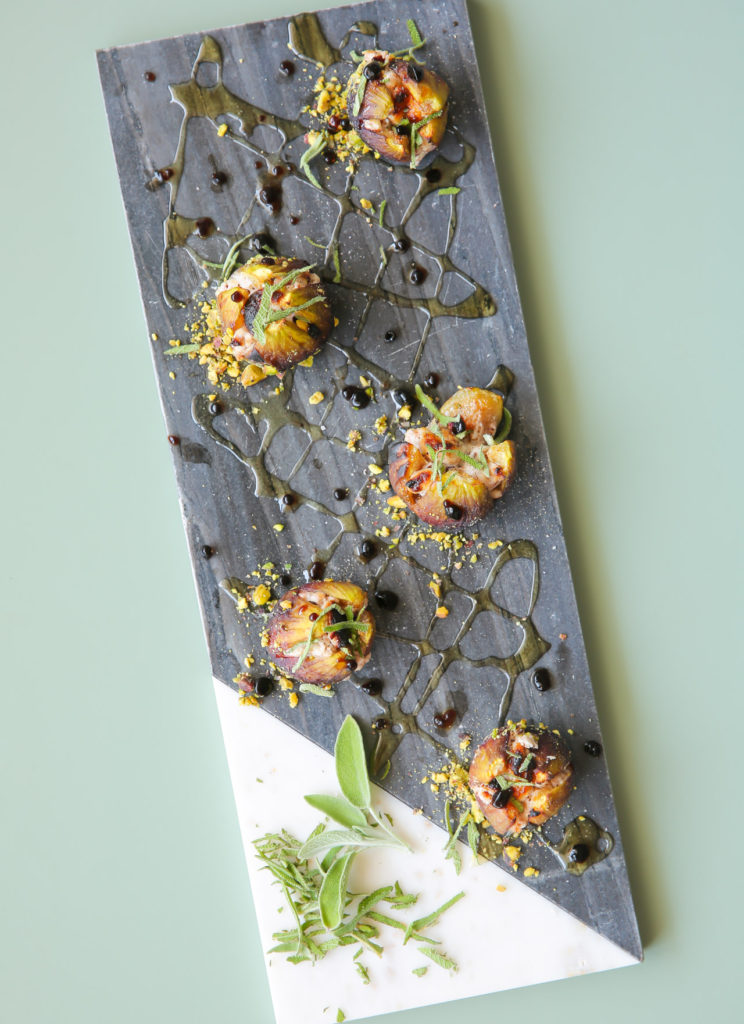
With most of my days spent at home working on my course and prepping for workshops, I need to eat lunch at home. I quickly grew tired of eggs. I basically had some variant of them almost every day, so when I saw the last of my Trader Joe figs, I decided to make lunch out of them! I had also brought back with me some Natural & Kosher cranberry pecan goat cheese and thought that would go perfectly with the sweetness of the figs and with the crunch of the pistachios I knew I wanted to include. I decided to break up the sweetness with something savory, so I went for balsamic vinegar and sage leaves. This was the perfect time to try out balsamic caviar (balls of balsamic vinegar) that I have been meaning to try!
This dish is perfect with the nine days coming up. It may seem a little fancy for your weekday lunch or dinner, but really it’s so quick to make, so it is definitely worth it! Why not impress people, especially when it takes no effort on your part? The caviar itself ended up being very time-consuming to make—not difficult, just a long process, so definitely skip that if you’re short on time and just drizzle balsamic over your plated figs instead. Happy eating!

Prep Time
10 minute
Cook Time
5 minute
Passive Time
30 minutes
Servings
Prep Time
10 minute
Cook Time
5 minute
Passive Time
30 minutes
Servings